If you’re working in other US states, please see this document for onboarding help.
Look for the welcome email in your inbox #
- Look for a welcome email from support@raise.team
- Click the button that says Get Started
First time only: #
Reset your password #
- If this is your first time signing into the portal, you’ll be asked to choose a new password – and then re-type your password to confirm.
Accept the privacy policy #
- Your first time signing into the portal, you’ll be asked to read the Privacy policy.
- Click I accept to continue.
How to get support if you need it #
If you need help along the way, two quick ways to reach us are:
- Email support@raise.team
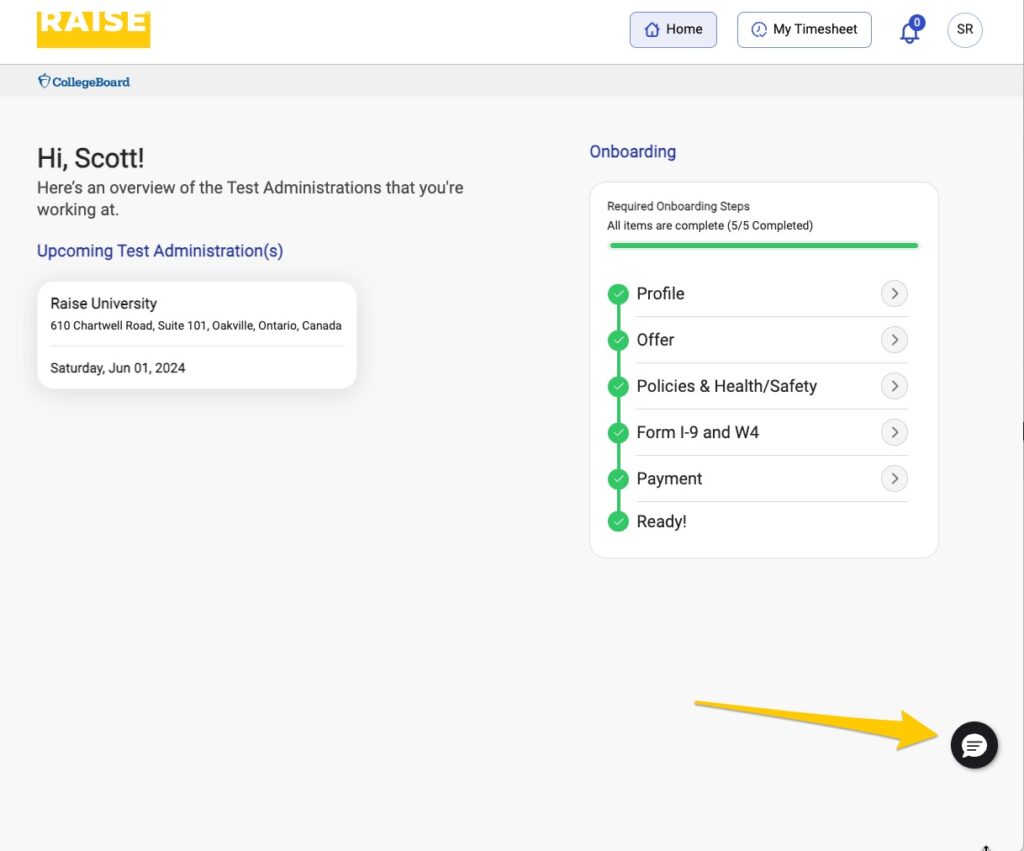
- Click the Chat button in the bottom right corner to open a chat conversation with Raise.
Get started #
- On the right-hand side, click Start to begin your onboarding.
Complete the Profile #
- Please make sure that your legal name (first name, last name, middle name) and address match your government-issued ID, as this information will be used to fill forms later, and save you re-entering the same information.
- The Preferred Name field is where you can provide the name you want to be addressed by in emails, calls or chats with Raise.
- As a security precaution, the Social Security Number (SSN) field will disappear after you leave this screen. If you think you’ve made a mistake and need to edit this field later, please reach out to us at support@raise.team.
- When your profile is complete, click Save & Next.
Read and sign your Offer #
- If you meet the eligibility criteria listed in the Offer section, click the checkbox next to Yes, I meet the Eligibility Criteria Above.
- Scroll through your Agreement to read it.
- To continue, click Yes, I Agree.
- To sign the offer, click Continue to Sign.
- Draw your signature in the box provided.
- Click Sign & Complete.
- Click Save & Next.
Sign your policies #
- Click the Preview button to download the Policies and read before you sign.
- Click Apply Signature to add your signature. This applies the signature from your Agreement.
- Click the Preview button to download the Health & Safety information and read before you sign.
- Click Apply Signature to add your signature. This applies the signature from your Agreement.
- Click Save & Next.
Complete Form I-9 and state tax forms #
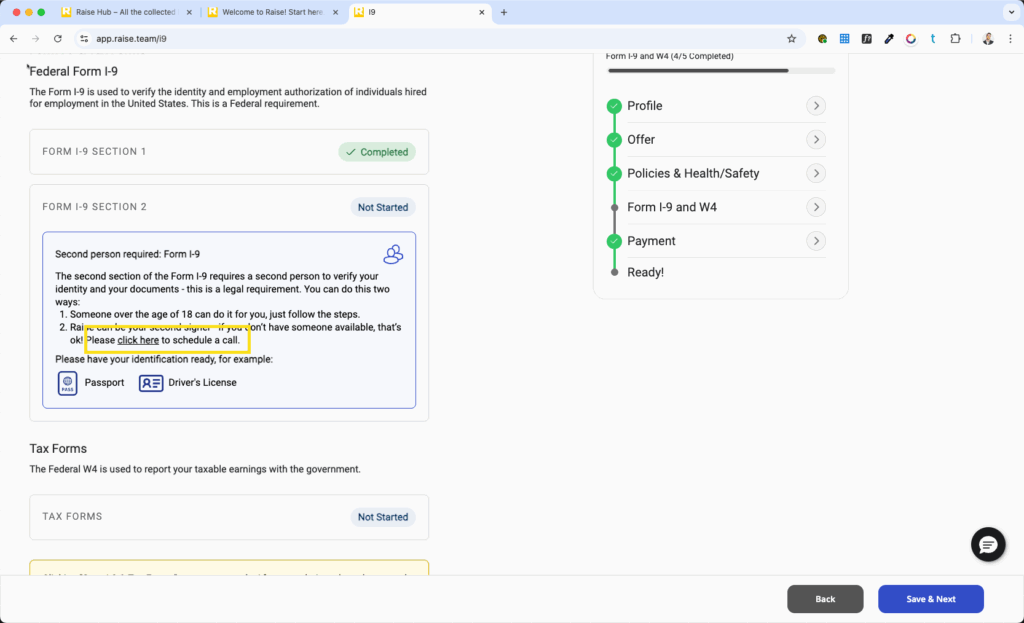
Complete the Form I-9 #
To help with this section, we have an article about completing the Form I-9 here.
Complete the Form I-9 and verify using E-Verify #
Form I-9 is required to verify the identity and employment authorization of individuals hired for employment in the United States. To verify your identity remotely, you will need to do two things:
- Upload your document(s) for verification using your webcam, phone camera, or an image file of your document(s);
- Have an “Authorized Representative” inspect your documents and sign.
An “Authorized Representative” or “Second Signer” can be anyone (friend, family member) as long as:
- They are in the same location as you,
- Are over 18 years of age,
- Can receive a text message on their phone, sign a digital form on their phone, and can display a QR code on their phone for you to scan.
Verify your information #
- Verify that your information is correct. If not, go back to the Profile section to correct it.
- Click Next.
- Select your citizenship status.

1: Select and upload the document(s) you’ll use for verification #
- Select what documents you’ll use to verify your identity and employment verification.
- For this example, we’ll demonstrate using a passport.
- Click Next
Take or upload a photo of your document(s) #
- Click Begin verifying.
- The verification window will prompt you either to
- Take a photo of your document using your device’s camera (webcam / phone camera), or
- Upload a photo of your document from a file on your device, or
- Continue on another device – e.g., switch to your phone camera instead.
- Take or upload a clear photo of your document.
- The system will make sure that it can accurately read the information on your document for verification.

- Select whether you had a preparer or translator complete your form.
- Click Next.
- Complete any necessary fields.
- Sign, and click Finish.
2: Have your Authorized Representative verify your documents #
An “Authorized Representative” can be anyone (friend, family member) as long as:
- They are in the same location as you,
- Are over 18 years of age,
- They can receive a text message on their phone, sign a digital form on their phone, and can display a QR code on their phone for you to scan,
If you don’t have anyone around you who can act as your Authorized Representative, Raise can act as your Authorized representative. Schedule a call with us by click the link that says: Please click here to schedule a call.
Verify with a Second Signer #
- Enter the mobile number of your Authorized Representative.

- This will send your Authorized Representative a link to open a page with instructions how to complete their side of the process.

- The Authorized Representative will read and agree that they will inspect your documents to verify that they’re genuine, that they belong to you, and that to the best of their knowledge that you are authorized to work in the United States.
- The Authorized Representative looks at your document on the screen, makes sure it matches your document, and signs on their device.
Scan your Authorized Representative’s QR code #
- To demonstrate that you’re both in the same place, their device will display a QR code
- Click the blue Begin QR Code Scan button to open your computer webcam/phone’s camera within the Raise app.

- When prompted, scan the QR code on their phone using your device (your computer webcam, or your phone) within the Raise app.

Complete required state forms or documents #
- In this section, you also will see any applicable state forms
- Once you’ve completed the required document(s), click Submit.
Complete your W4 #
- You can find information on the W4 on the IRS website here.
- When you’ve completed your W4, click Submit.
- Close the browser tab to return to the Raise App. Click Continue.
Connect your bank #
We use Plaid to connect to your financial institution so we have the information to deposit your pay. 1 in 3 US adults has connected a financial account to an app with Plaid, so you might be able to sign in quickly with your phone number. Learn more about Plaid’s safety and security measures here.
- Click Connect my bank.
- If you’ve used Plaid before, enter your phone number. Plaid will text you a code to authorize the connection.
- If you’ve never used Plaid before, follow the steps to connect – it’s a similar process to signing into your online banking.
- If you opt not to connect your bank with Plaid, choose Connect Another Way. This method may take longer for you to receive payment.
Ready to work #
- When all your documents are complete and submitted, you’ll see that you’re ready.
- You can download signed copies of your Agreement, your Policies, and your Health & Safety documents for your records.